Background Removal Guide: Complete Tutorial
Removing backgrounds from images is an essential skill for game developers, artists, and designers. PolishSprite offers powerful tools to make background removal both simple and precise. This guide will walk you through the entire process.
Selecting Colors for Removal
The first step in background removal is selecting the color you want to remove using the eyedropper tool. This tool allows you to pick an exact color from your image. After selecting the color, you can adjust the sensitivity to fine-tune the process. The default settings work best for pixel art, providing clean and accurate removal.
Advanced Background Removal Options
For images with a wide range of colors or gradients, PolishSprite offers the "Use HSV Keying" option. This feature provides more sophisticated color matching based on hue, saturation, and value. For such images, it's recommended to set the top sliders to a minimum and use the lower settings instead, which gives you more control over the removal process.
Improving Visibility During Editing
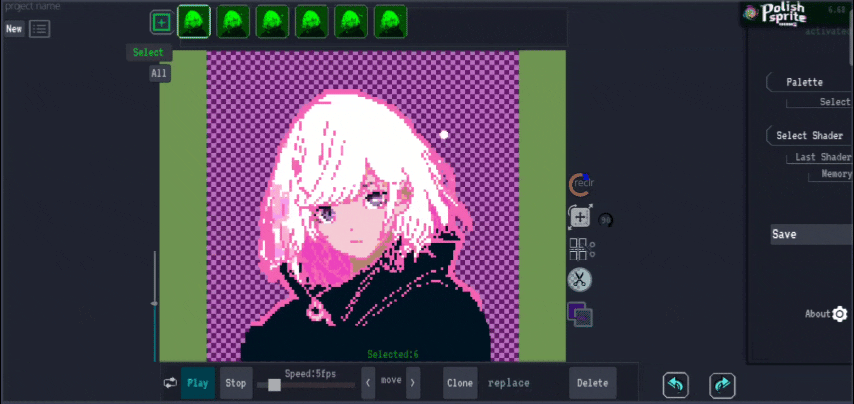
To better see the effect of your background removal, you can change the background color behind your image. In our tutorial example, we switched the background to green, which makes it easier to see any remaining artifacts or areas that need further adjustment. This is particularly helpful when working with light or white backgrounds.
Enhancing Your Results
Once the background colors are successfully removed, your image will have transparency where the background was. At this point, you can apply additional effects or shaders beneath your image, such as stars or gradients, to enhance the final result. This allows for creative compositions and special effects that weren't possible with the original background.
Tips for Best Results
- Start with default sensitivity settings and adjust gradually for the most natural results
- Use the preview feature to check your progress as you make adjustments
- For complex images, try removing the background in multiple passes with different settings
- Consider the final use of your image when setting sensitivity - sometimes a slightly conservative setting prevents unwanted artifacts
- Take advantage of the undo function if you over-remove parts of your image
Remove Backgrounds Now
Ready to remove backgrounds from your images? Upload your image to PolishSprite and start creating transparent backgrounds today.
Remove Background Now